Deploying applications to Glassfish Server using Eclipse IDE
Follow the following steps to deploy and run the application on Glassfish in Eclipse IDE.
[toc]
Installing Glassfish tools
First of all, follow the following steps to install Eclipse Glassfish Tools plugin into Eclipse IDE.
- Open Eclipse Marketplace from Help-> Eclipse Marketplace menu.
- Type Glassfish in the search box to filter Glassfish plugins.
- In the search result, find Glassfish tools , click the Install button to install it.
- After it is installed, restart Eclipse IDE to apply the plugin.
Next let’s create a Glassfish Server instance.
Adding a Glassfish Server instance
If the Servers view is not opened, try to open it first. Click Windows->Show Views -> Servers from Eclipse main menu.
Alternatively try to open the Java EE Perspective, click Windows-> Perspective->Open Perspective-> Other… from the main menu, and find the Java EE perspective in the popup Perspective window, it will open a series of views for this perspective, including the Servers view.
In the Servers view, right click on the blank area, select New->Server in the context menu. It starts a New Server wizard to set up a server instance.
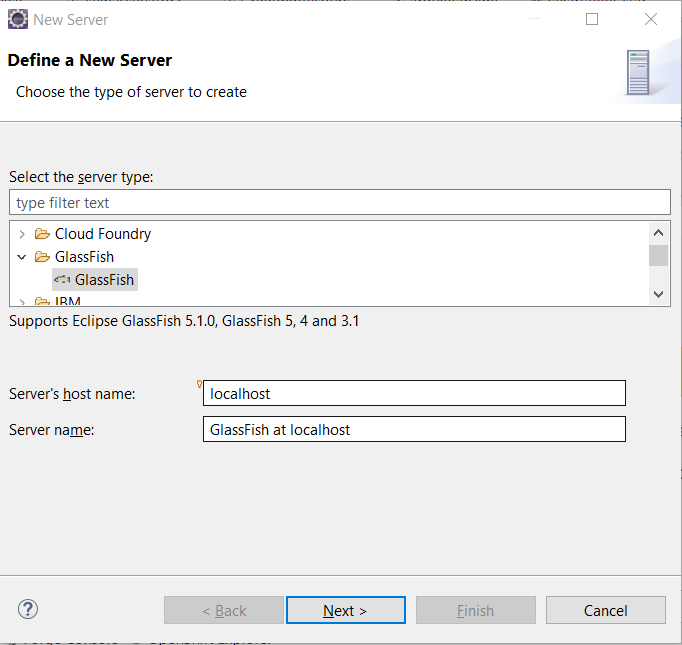
In the New Server wizard, the first step is Define a New Server, select Glassfish in the server type tree, and click Next button.
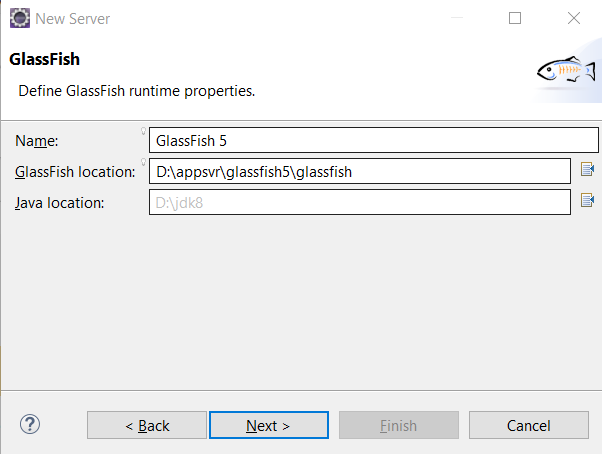
In the Glassfish runtime properties step, you can name the server instance, select the Glassfish location from local machine, and choose a JDK 8 to run Glassfish, click Next button.
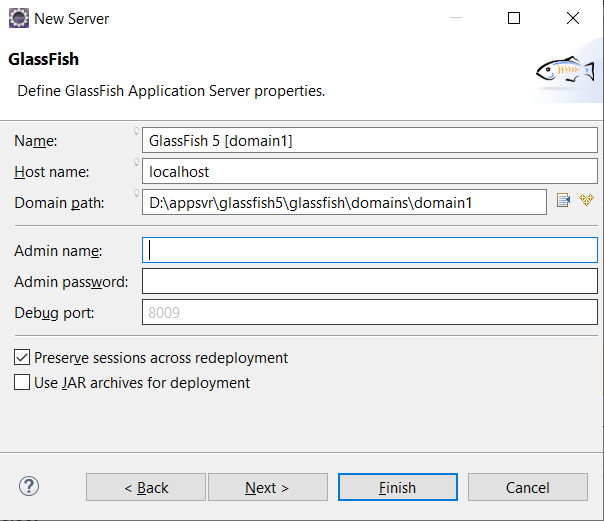
In the Glassfish Application Server properties step, it allows you to setup domain info and the administration properties, let’s use the default values, click Finish button.
There is a new node will be appeared in the Servers view.
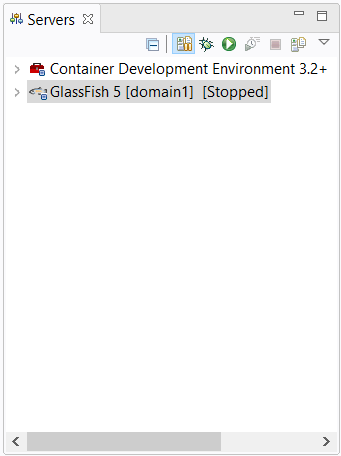
It is easy to control the application server in the Servers view, such as start, stop, restart, deploy and undeploy, etc.
Start and Stop Glassfish Server
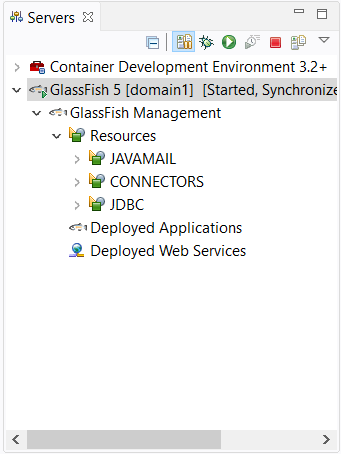
Right click the Glassfish node, and select Start to start Glassfish server. After it is started successfully, under the Glassfish node, it will include the resources in the Glassfish server.
To stop Glassfish Server, just click Stop in the context menu, or select Glassfish node, and click the stop button in the toolbar of the Servers view.
Deploy and undeploy applications
Ok, let’s try to run our sample application on the Glassish server.
In the Project or Packages view, right click the project node, and click Run As…-> Run on Server in the context menu.
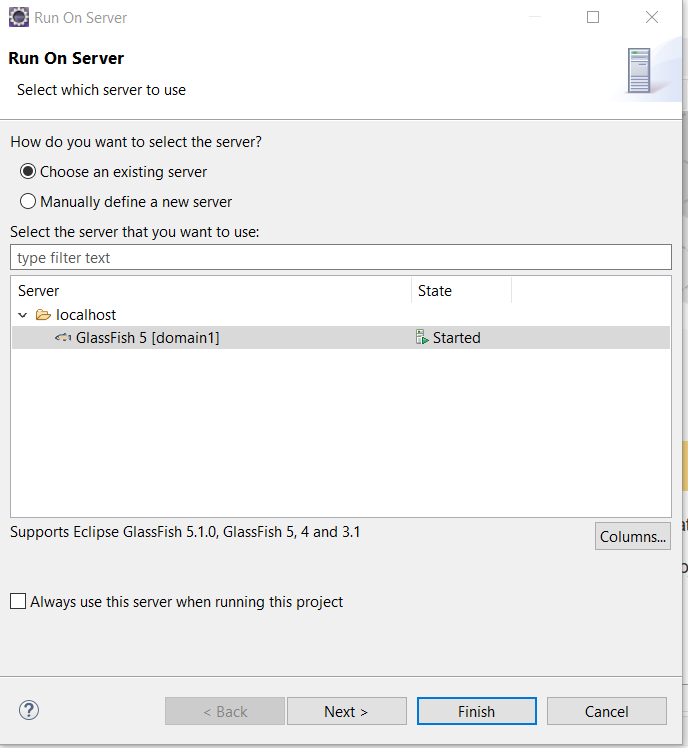
In the Run on Server dialog, select Glassfish, and click Finish button. Wait for seconds, it will build, package and deploy the application into Glassfish server.
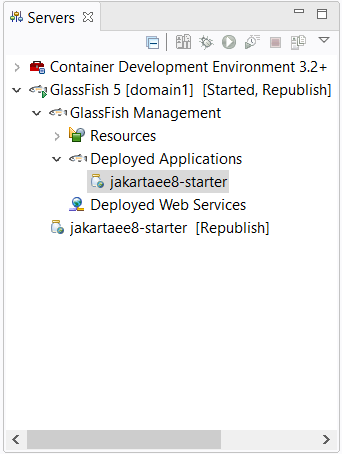
When it is done, you will see there is a Deployed Applications under the Glassfish node in the Servers view. Expand this node, there is a jakartaee8-starter node, it is our application running on the Glassfish server.
Open your terminal, try to access the sample endpoint api/greeting/{name} via curl command.
curl http://localhost:8080/jakartaee8-starter/api/greeting/hantsy
{"message":"Say Hello to hantsy at 2019-12-03T14:05:28.437"}
To undeploy the application, in Servers view, expand Glassfish 5->Glassfish Management->Deployed Applications, right click jakartaee8-starter, click Undeploy in the context menu.
Or right click Glassfish 5-> jakartaee8-starter, click Remove in the context menu.