Deploying applications to Open Liberty Server using Eclipse IDE
Install Open Liberty Developer Tools
To manage Open Liberty server in Eclipse IDE, you should install Open Liberty Developer tools pluign.
Follow the following steps to install Open Liberty Developer Tools plugin into Eclipse IDE.
- Open Eclipse Marketplace from Help-> Eclipse Marketplace menu.
- Type Liberty in the search box and hit Enter to search it.
- In the result list, find IBM Liberty Developer Tools , then click Install button to start the installation.
- After it is installed, restart Eclipse IDE to apply the plugin.
Next let’s create an Open Liberty Server instance.
Add an Open Liberty Server instance
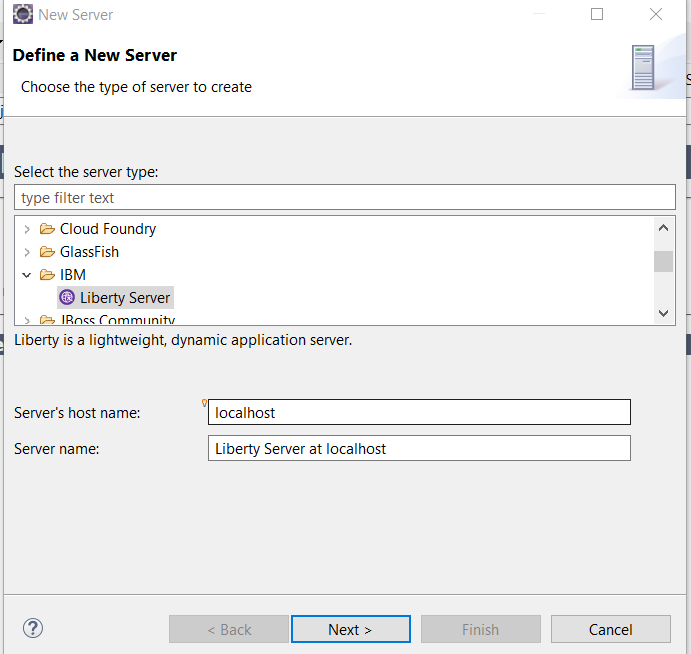
Right click on the blank area in the Servers view, select New->Server in the context menu.

Expand IBM node in the tree list, select Liberty, and click Next button.

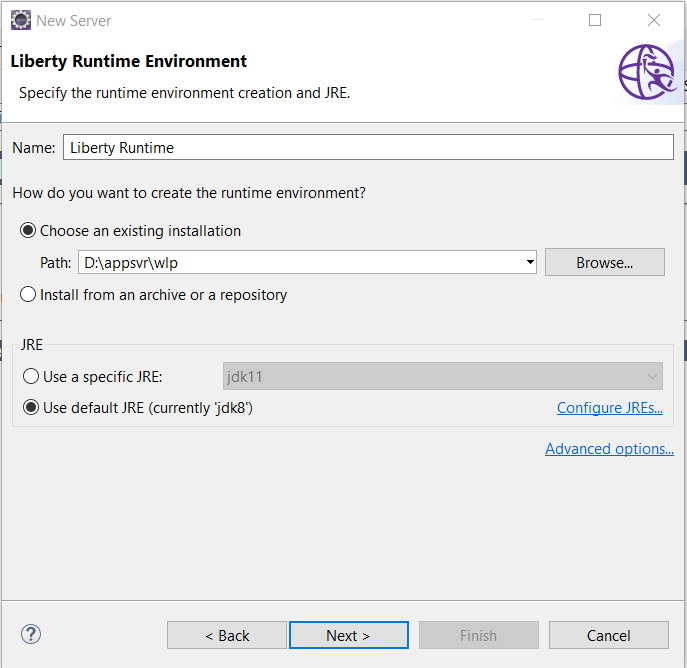
In the Liberty Runtime Environmentr step, set the Liberty location, click Next button.

In the New Liberty Server, there is a ** template** field, make sure javaee-8.0 is selected, others use the default values, click Finish button.
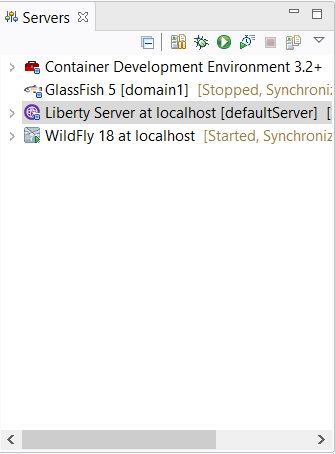
After it is done, there is a Liberty Server instance in the Servers view.

Start and Stop Open Liberty Server
To start Open Liberty Server, right click the LibertyServer node in the Servers view, and click Start in the context menu.
To stop Open Liberty Server, right click the LibertyServer node in the Servers view, and click Stop in the context menu.
Deploy and undeploy application
Ok, let’s try to run the application on Open Liberty server.
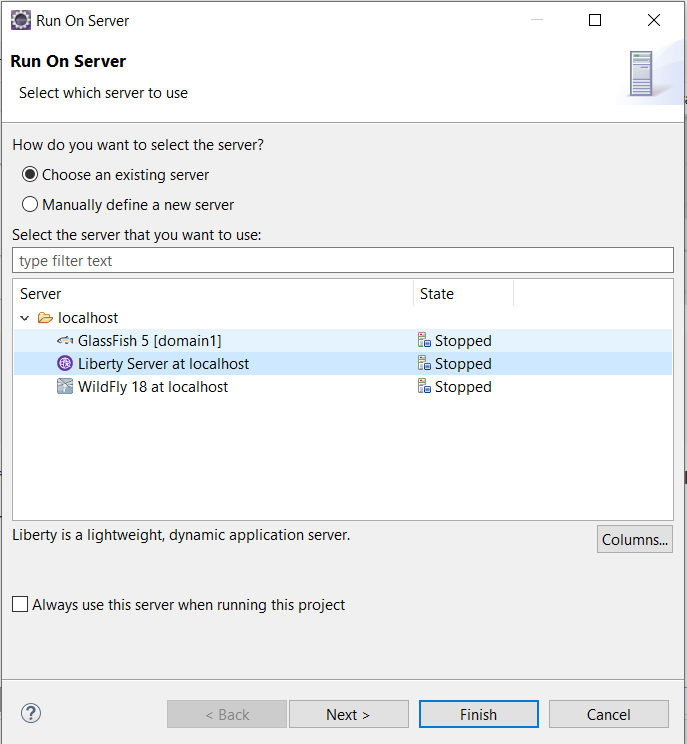
In the Project or Packages view, right click the project node, and click Run As…-> Run on Server.

If the Liberty server is not started, it will start the server firstly, then build, package and deploy the application into the Liberty Server.
If it is first time to run Liberty server, it will popup a dialog for you to setup the keystore. Set up it as you like.
After it is started successfully, you can see the following like info in the Console view.
[AUDIT   ] CWPKI0803A: SSL certificate created in 4.902 seconds. SSL key file: D:/appsvr/wlp/usr/servers/defaultServer/resources/security/key.p12
[AUDIT   ] CWWKI0001I: The CORBA name server is now available at corbaloc:iiop:localhost:2809/NameService.
[AUDIT   ] CWWKT0016I: Web application available (default_host): http://localhost:9080/jakartaee8-starter/
[AUDIT   ] CWWKZ0001I: Application jakartaee8-starter started in 2.888 seconds.
[AUDIT   ] CWWKF0012I: The server installed the following features: [appClientSupport-1.0, appSecurity-2.0, appSecurity-3.0, batch-1.0, beanValidation-2.0, cdi-2.0, concurrent-1.0, distributedMap-1.0, ejb-3.2, ejbHome-3.2, ejbLite-3.2, ejbPersistentTimer-3.2, ejbRemote-3.2, el-3.0, j2eeManagement-1.1, jacc-1.5, jaspic-1.1, javaMail-1.6, javaee-8.0, jaxb-2.2, jaxrs-2.1, jaxrsClient-2.1, jaxws-2.2, jca-1.7, jcaInboundSecurity-1.0, jdbc-4.2, jms-2.0, jndi-1.0, jpa-2.2, jpaContainer-2.2, jsf-2.3, jsonb-1.0, jsonp-1.1, jsp-2.3, localConnector-1.0, managedBeans-1.0, mdb-3.2, servlet-4.0, ssl-1.0, wasJmsClient-2.0, wasJmsSecurity-1.0, wasJmsServer-1.0, webProfile-8.0, websocket-1.1].
[AUDIT   ] CWWKF0011I: The defaultServer server is ready to run a smarter planet. The defaultServer server started in 54.255 seconds.
Now open your terminal, try to access the sample endpoint api/greeting/{name} via curl command.
curl http://localhost:9080/jakartaee8-starter/api/greeting/hantsy
{"message":"Say Hello to hantsy at 2019-12-03T21:34:00.033"}
Note, Liberty Server uses 9080 as port by default.
To undeploy the application, just right click the jakartaee8-starter node under the Liberty Server instance node in the Servers view, and click Remove in the context menu. It will start undeploying the application, you can see the progress in the Console view.
[AUDIT   ] CWWKG0016I: Starting server configuration update.
[AUDIT   ] CWWKG0017I: The server configuration was successfully updated in 0.800 seconds.
[AUDIT   ] CWWKT0017I: Web application removed (default_host): http://localhost:9080/jakartaee8-starter/
[AUDIT   ] CWWKZ0009I: The application jakartaee8-starter has stopped successfully.