KeyCloak
KeyCloak is the most popular open source OAuth2/OpenIdConnect solutions in the Java communities. Currently it is mainly maintained by RedHat and it is also the base of RedHat SSO commercial product.
Bootstrapping KeyCloak Instance
There are several guides to start a KeyCloak instance on your local system.
Here we use Docker to run KeyCloak server, and start a KeyCloak instance via a predefined docker compose file.
# file name: keycloak-mysql.yaml
version: '3'

volumes:
  mysql_data:
      driver: local

services:
  mysql:
      image: mysql:5.7
      volumes:
        - mysql_data:/var/lib/mysql
      environment:
        MYSQL_ROOT_PASSWORD: root
        MYSQL_DATABASE: keycloak
        MYSQL_USER: keycloak
        MYSQL_PASSWORD: password
  keycloak:
      image: quay.io/keycloak/keycloak:latest
      environment:
        KC_DB: mysql
        KC_DB_URL: jdbc:mysql://mysql:3306/keycloak
        KC_DB_USERNAME: keycloak
        KC_DB_PASSWORD: password
        KEYCLOAK_ADMIN : admin
        KEYCLOAK_ADMIN_PASSWORD: Pa55w0rd
        # Uncomment the line below if you want to specify JDBC parameters. The parameter below is just an example, and it shouldn't be used in production without knowledge. It is highly recommended that you read the MySQL JDBC driver documentation in order to use it.
        #JDBC_PARAMS: "connectTimeout=30000"
      ports:
        - 9090:8080
      depends_on:
        - mysql
      entrypoint: ["/opt/keycloak/bin/kc.sh", "start-dev"]
Open a terminal, execute the following command to start KeyCloak.
docker compose -f ./keycloak-mysql.yaml up
Registering Client in KeyCloak
After it is started successfully, open your browser and navigate to http://localhost:9090, you will see the following KeyCloak welcome page.
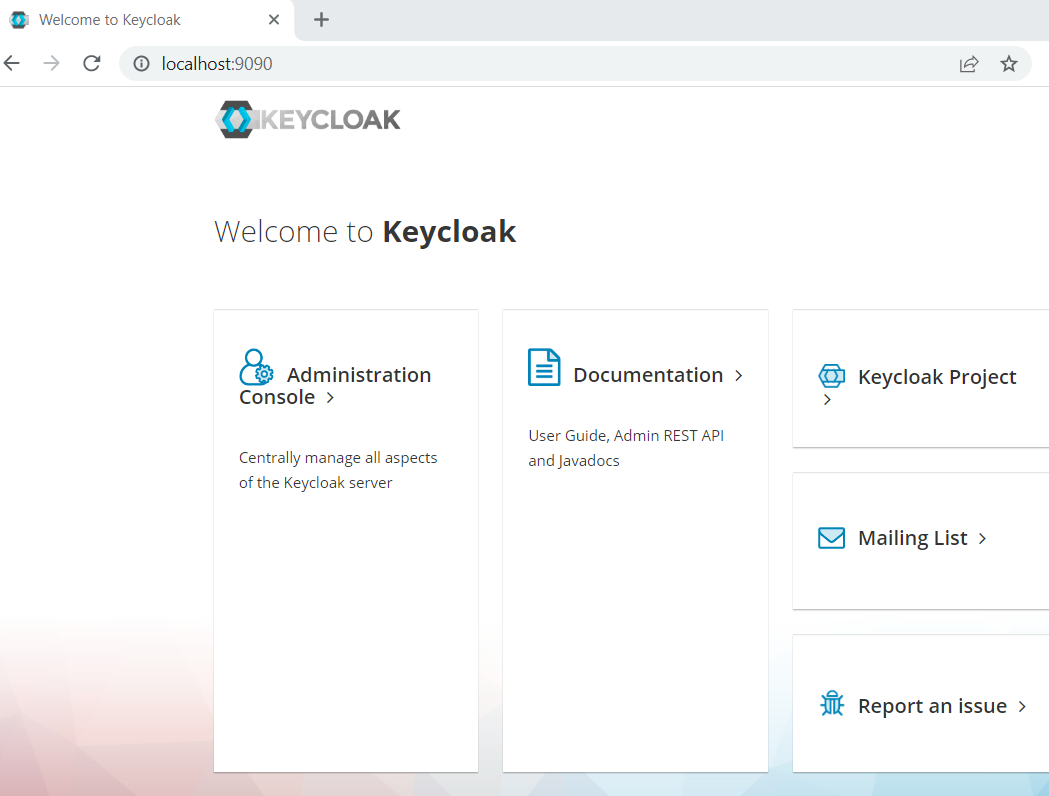
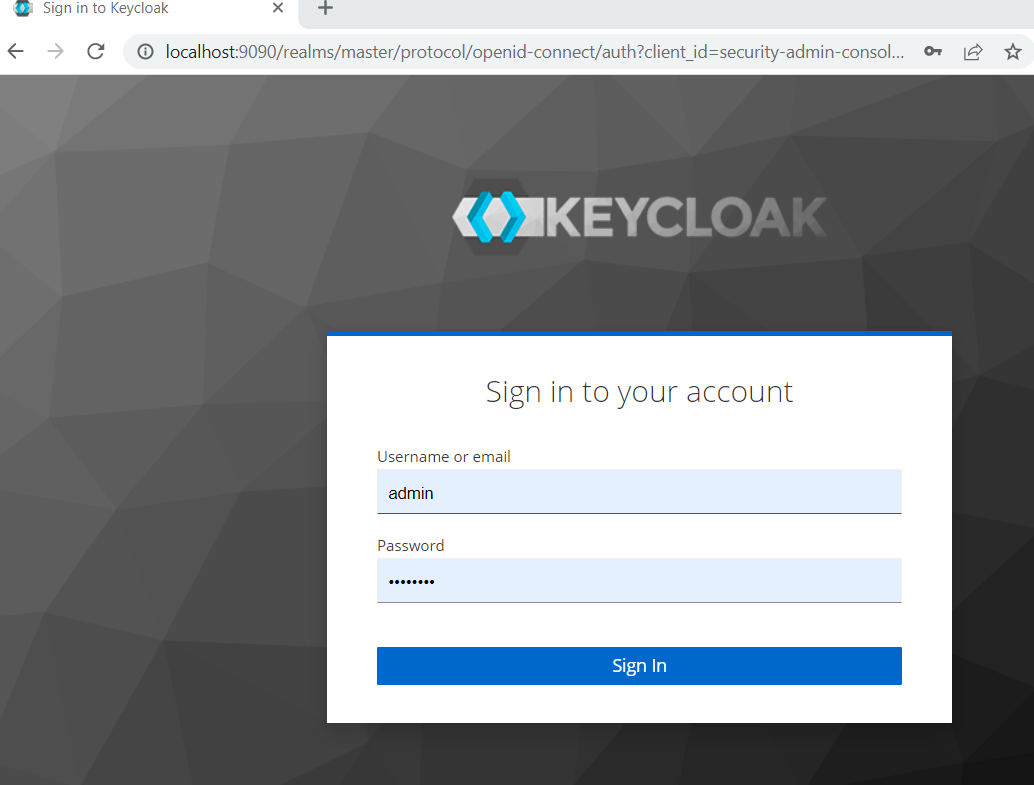
Click the Administration Console link, try to login with credentials admin/Pa55w0rd.
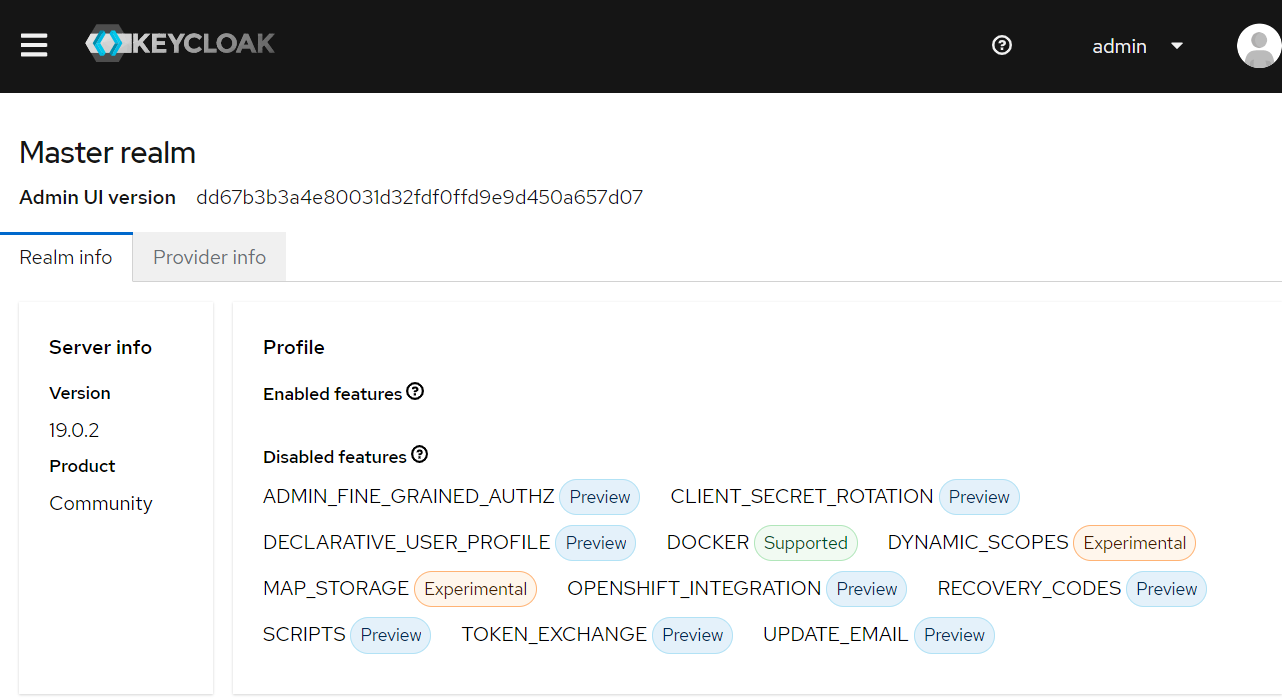
After logged in, you will see the following screen.
Click the main menu, select Clients, in the clients page, click the Create Client button.
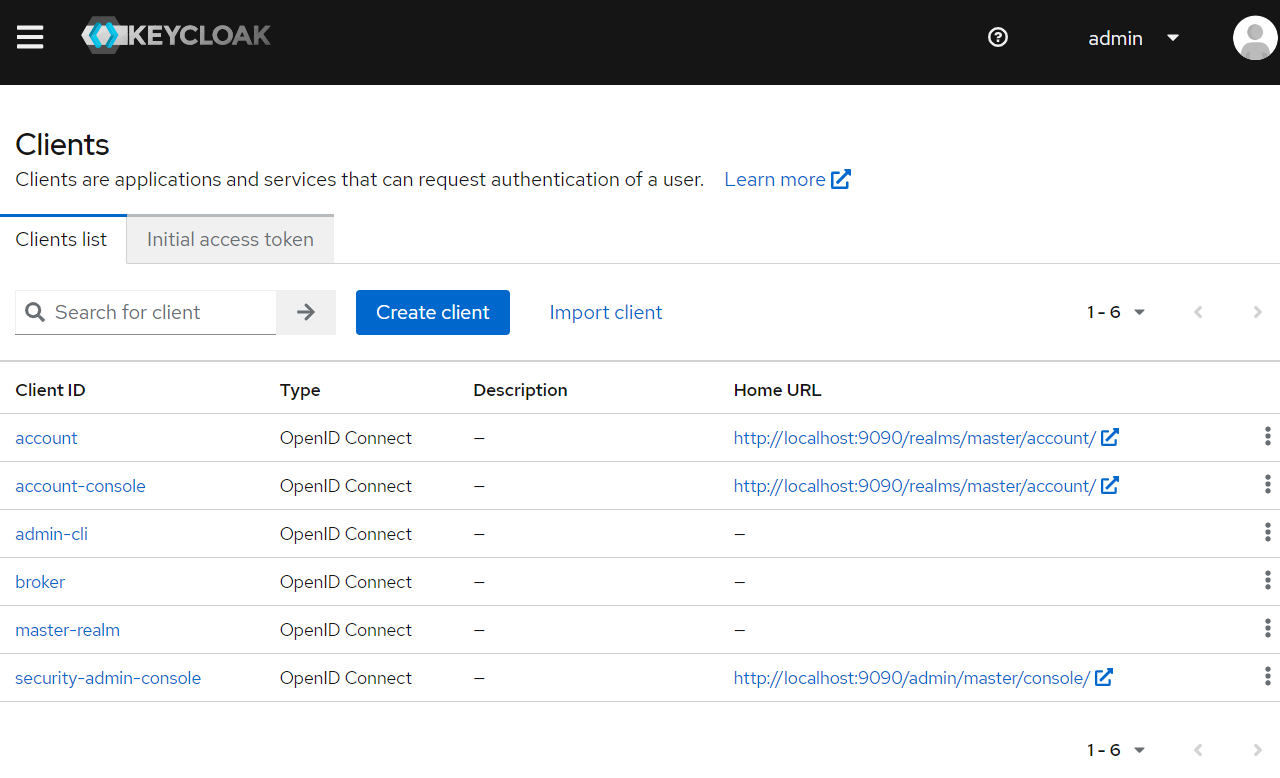
In the Create Client page, fill the client info like the following screen.
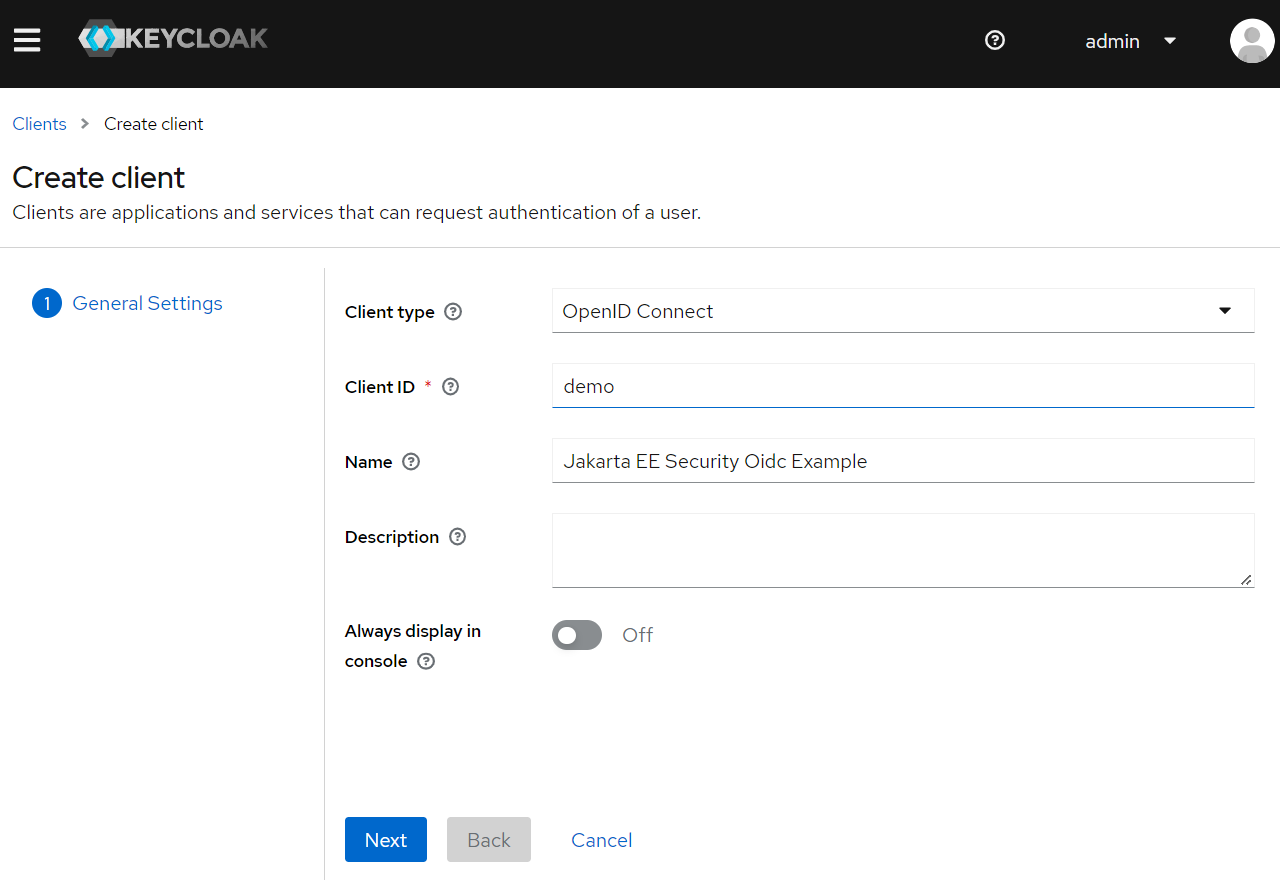
Click Next button, in the Capability Config page, make sure Client authentication is checked.

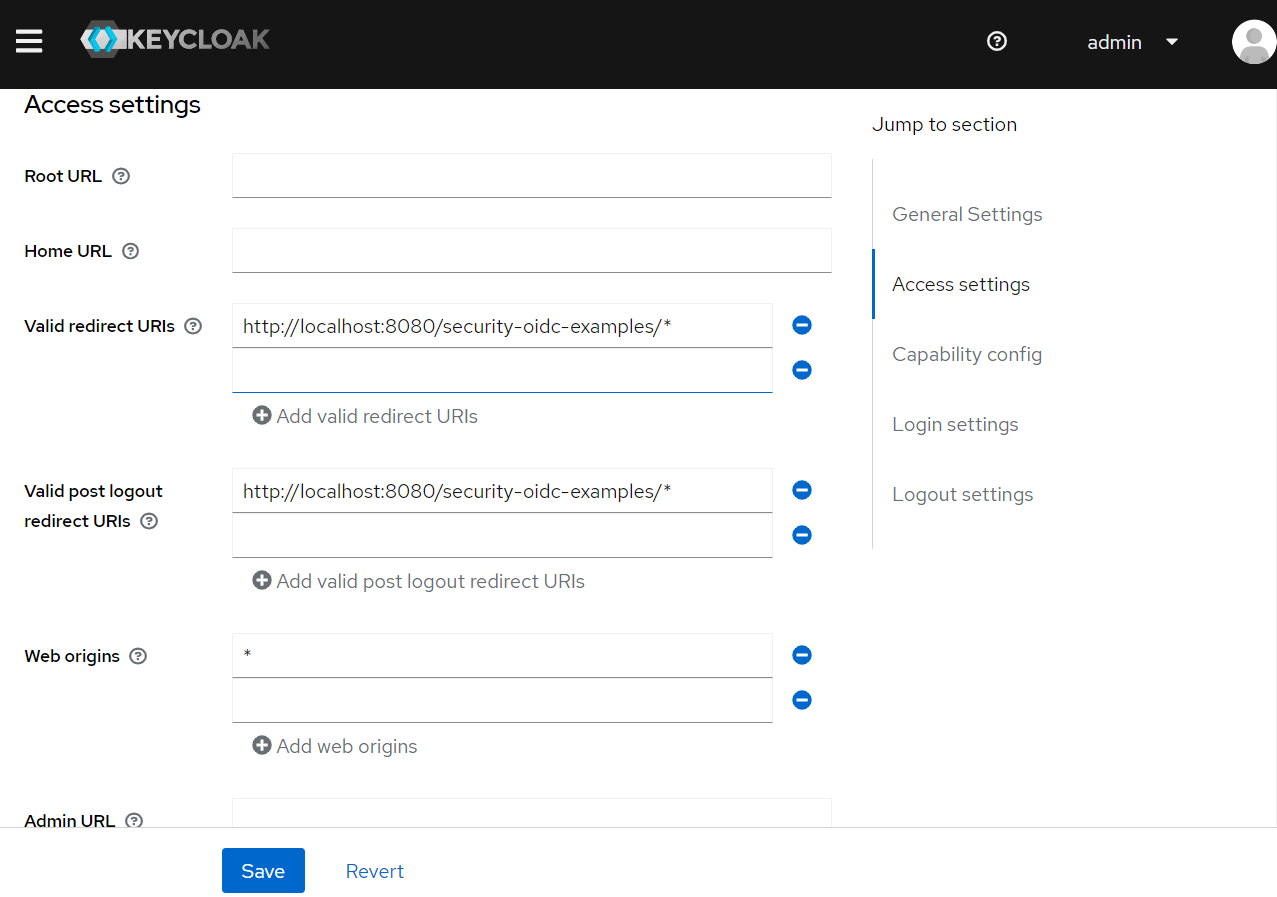
When it is done, it redirect to the client details page. Scroll down to the Access settings section, set Valid redirect URIs and Valid post logout redirect URIs.
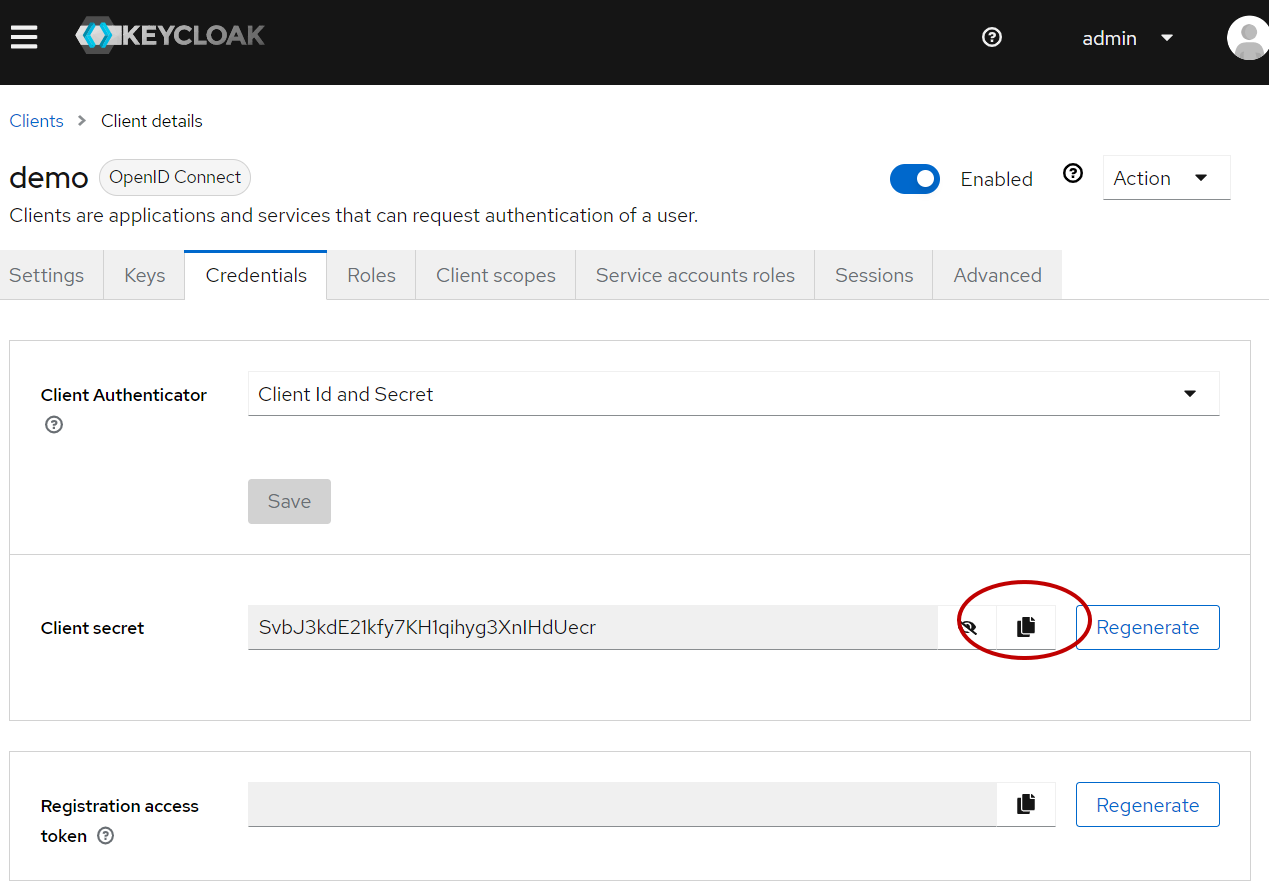
Click the Credentials tab, there is Client Secrets which will be used to connect to this authentication server from our Jakarta EE application.
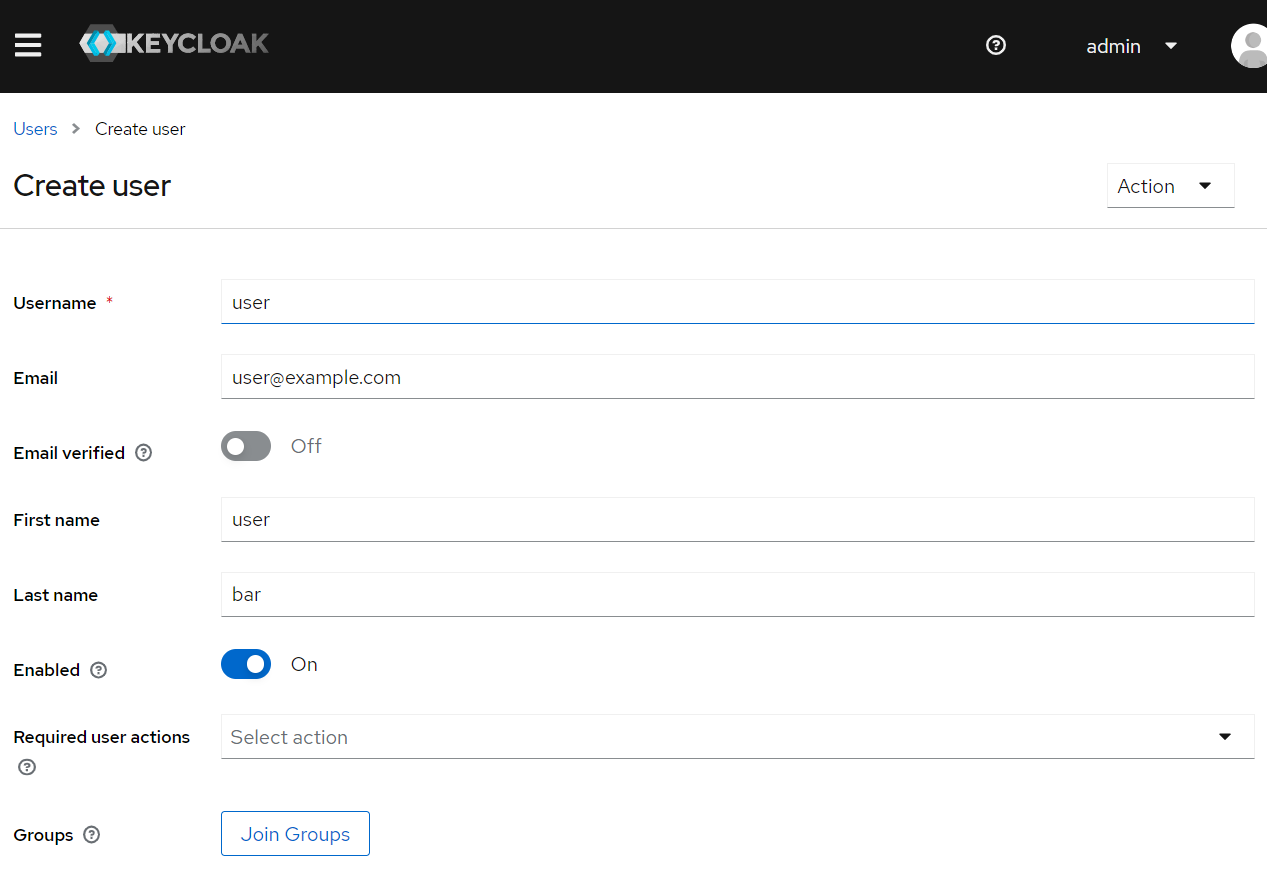
Creating Sample User
Next let's create a sample user used to login our Jakarta EE application.
Click and expand the main menu, and select Users, click Create User to create a new user.
Running Jakarta EE Example
Next, we will add configuration to our Jakarta EE project and make sure it will connect to the KeyCloak server using the clientId/clientSecret we have created in the last step.
Open src/main/resources/oidc.properties.
# local Keycloak
issuerUri=http://localhost:9090/realms/master/
clientId=demo
clientSecret=SvbJ3kdE21kfy7KH1qihyg3XnIHdUecr
Then execute the following command and run our Jakarta EE application on a WildFly server.
Due to a SSL connection issue in GlassFish, here we will use WildFly to simplify the work. If you are stick on GlassFish, please follow the comments of the issue to overcome the barrier in GlassFish.
mvn clean wildfly:run -Pwildfly
Open a browser, navigate to localhost:8080/security-oidc-examples/protected.
It will redirect to the KeyCloak login page.
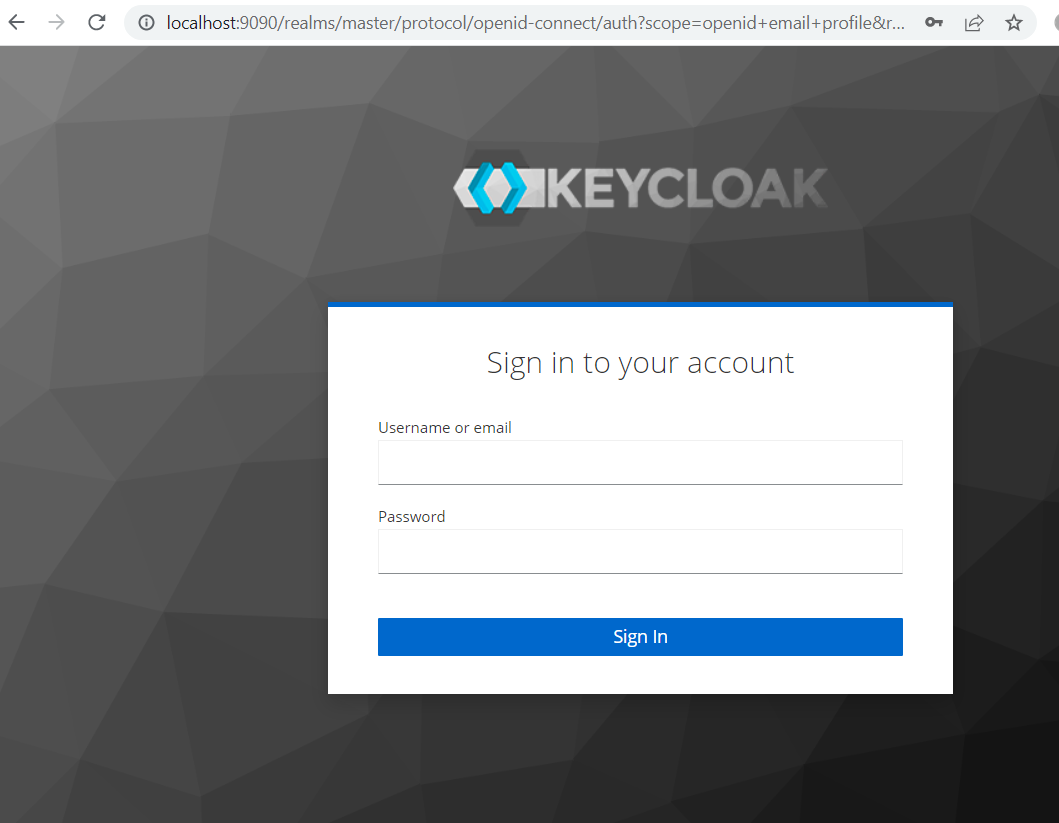
Login with the new sample user you have created in the KeyCloak administration console.
After logged in successfully, it will redirect to the original request URL localhost:8080/security-oidc-examples/protected.
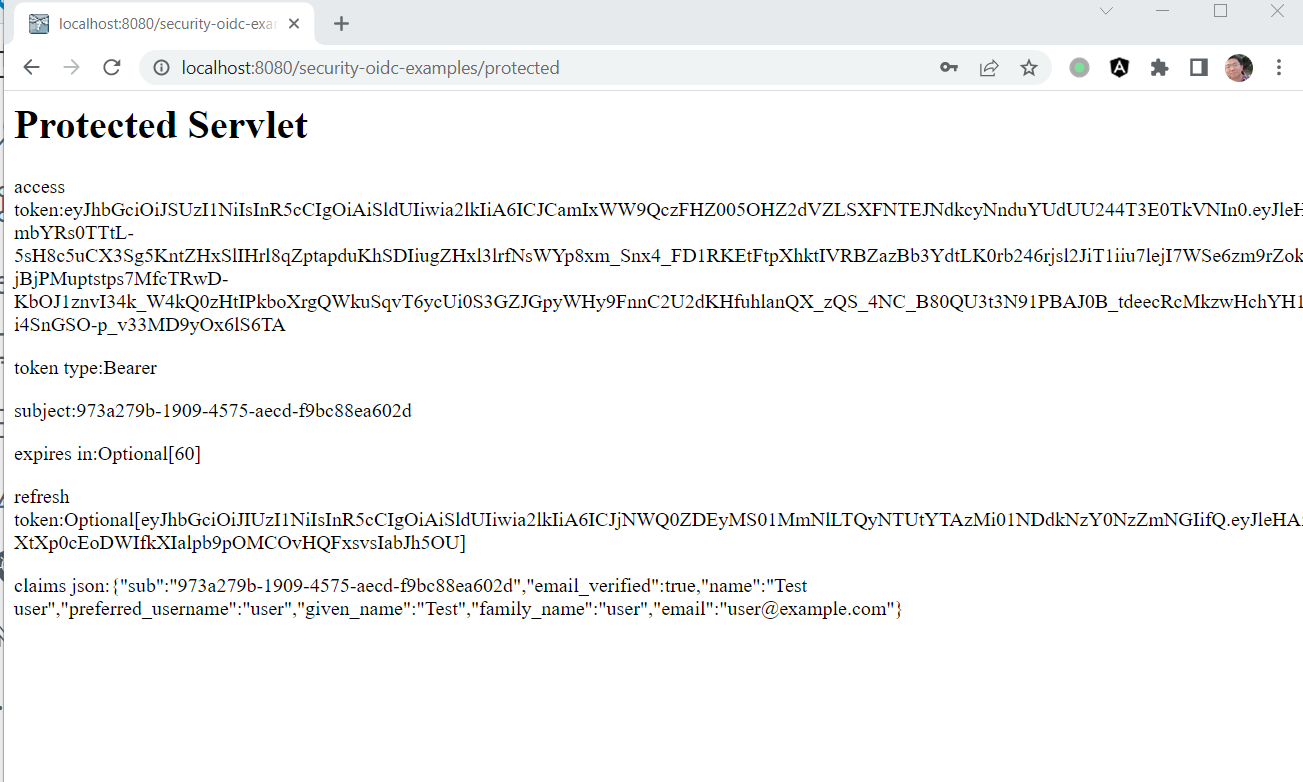
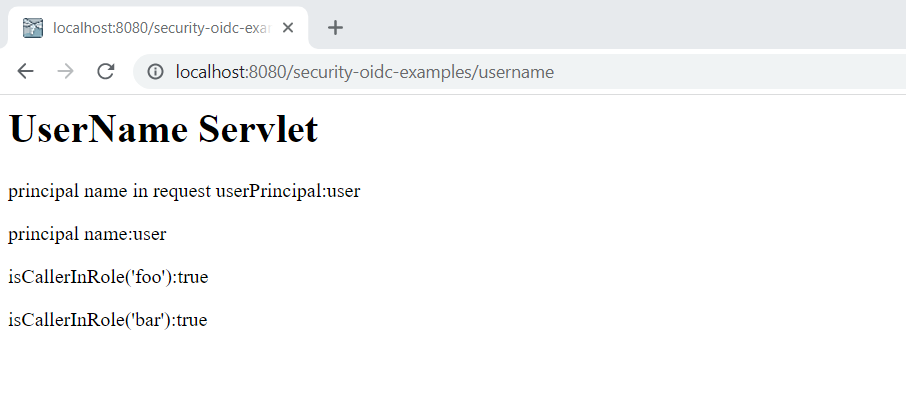
Navigate to http://localhost:8080/security-oidc-examples/username, it will show user info similar to the following screen.